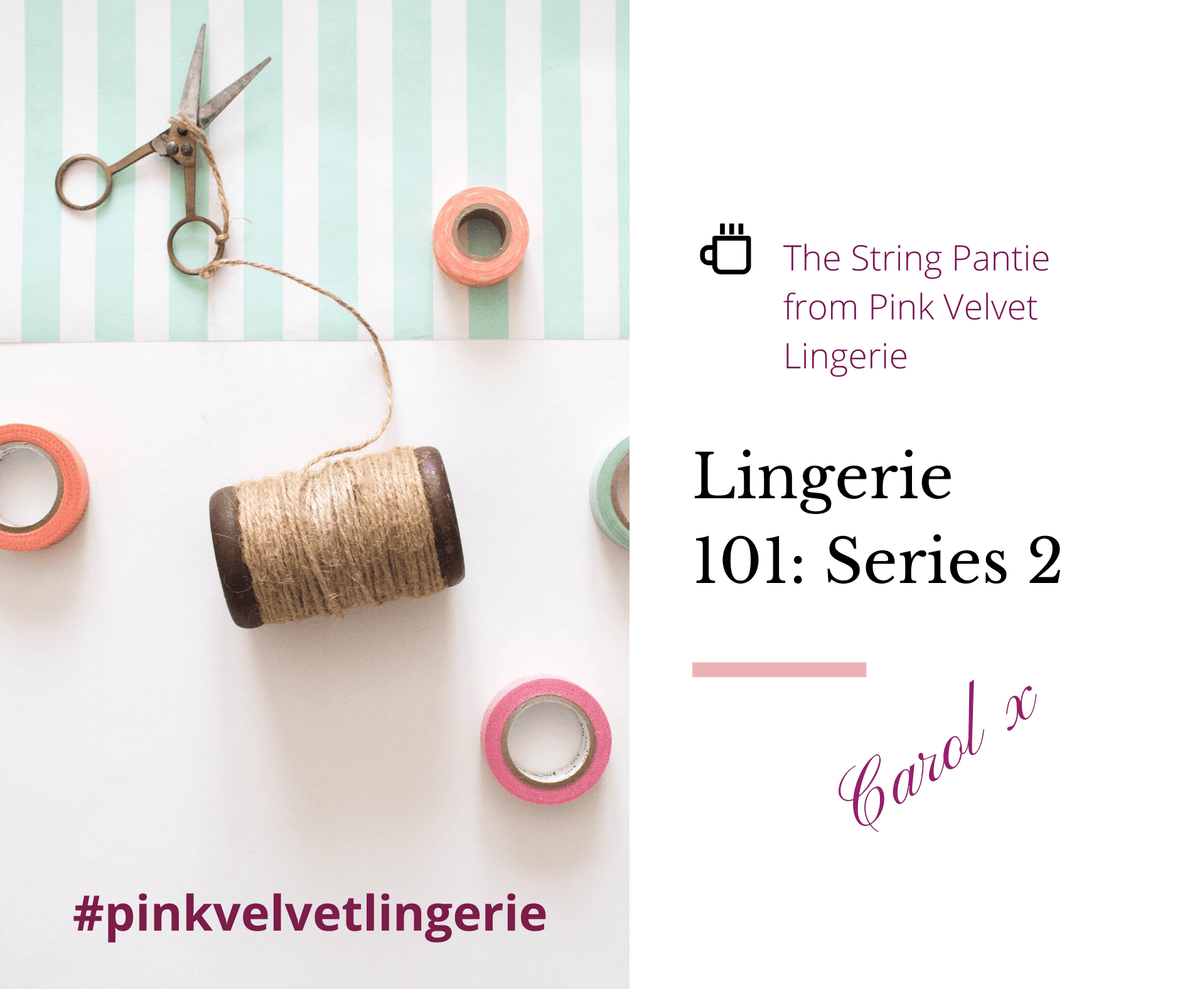
Lingerie 101: Series 2: The Self Drafted String Pantie
Carol Walker

Welcome back to another week and another blog . This week looks at the final pair of tiny panties we will contruct, and every girl always needs tiny pant. After this, it will be the fuller styles of bottoms - I promise! We will look at brazilian, a full fronted lace backed pantie and maybe a few more depending on time.
.
This week has been a huge week for me and finally saw the launch of PinkVelvetlingerie.com It sounds funny to say it out loud but it is all thanks to all of you. Your encouragement and motivation has been massive for me and with the new patterns and rise options for the panties, it is going to an amazing adventure. My mission: to provide a 'model-free' shopping experience, offering beautiful bespoke lingerie, handcrafted to your exact requirements and with only you in mind. There will also be pattern reviews and the youtube channel which are all growing alarmingly quickly.
.
Anyway, back to the sewing. This is another perfect way to construct a very simple pant but one which is crazy effective and time wise, super quick.
.
Fabric and Notion: Any left over stretch lace that has a scalloped edge. Some of your fold over elastic which was left over from your bra and some matching ribbon. (The choice is yours, just pick something you love.) This is the gosimer fine white stretch lace left over from the Devonshire Bra from the last blog post.
.
This is the easiest pattern to create. Two simple sections of lace left over from your stash and 1 meter of fold over elastic. Simply measure the length of the drop you want your pantie to be, from below the belly to the front of your crotch area, and add in 4 inches for the length of fabric which will pass between your legs. Then draw out a straight line on a piece of printer paper the same length. Make this the horizontal line. Add in a verticle line at 90 degrees to make the two sides of a triangle. Then join the triangle corners and tah-dah..... you have yourself the pattern for the front of the lace pattern.
.
You need to cut out two pieces, with mirrored lace, each with the scallop of the lace running along the longest edge. I also cut out a crotch section the same size as the last four inches of the pattern; here I have done it in the butter soft viscose jersey from Fabriques site. Just a quick note here, I think the sheerness of the white lace should be kept for just the areas you want to be seen, however for me I don't want the entirity of the lace to be see through but don't want to lose the effect. I always make the crotch lining from a nude viscose jersey which gives it the effect of being sheer but isn't.
.

.
Once the two lace triangles are cut out, I add a slight curve to where the waist band will sit. I overlock the centre seam of the pantie but you could also french seam the two sides together for a more professional finish. Its just me wearing them so I'm not so worried. The next job is to take 20cms of the fold over elastic, fold, and run under the sewing machine with a narrow three step zigzag. Lay this on top of the right side of your pantie front, right in the centre of the point of your triangle, then lay on a crotch piece, with right sides down. Sew a few stitches needed and secure. Flip everything over to the right side and secure the crotch lining with a narrow zigzag to stop it moving when you wear it.
.

.
I have learnt over time how long I need my straps to be. I am quite tall and around 5 "7. I trim the back section of my FOE to 15 cms from the end of the crotch, and then cut the waist strap to 75cm.
.

.
Fold your elastic in half and mark the center with a pin. Place the pin where your center seam lies on your panite and pin outwards from there. Sew the pantie front piece to the lace front panel with a run of narrow three step zigzag. Trim off any excess which falls over the midway point of the FOE
.

.
Fold the elastic over and sew all the way along the fold over elastic from one to the other, taking care to ensure the lace is secure and that the sewing is flush to the open side of the FOE. Join the two ends togther at the back and add in the back strap and oversew to make sure it is secure.
.
I always finish off with a bow both at the centre of the front and the back, it is a cute detail and makes your pantes look professional.
.

.
Now all you need to do is enjoy wearing your set!
.
The next Bra and panties we will be making is the Black Beauty Bra from Emerald Erin and a lace backed Brazilain style Ember Pantie from Evie la luve.
Until the next series, why don't you come on over and subscribe to my website at Pinkvelvetlingerie.com for more pattern tutorials and Lingeire inspiration; you never know - it might give you some inspiration for some patterns and colours to try. Just click the link below and come on over.....

.
Until next time......
.


