
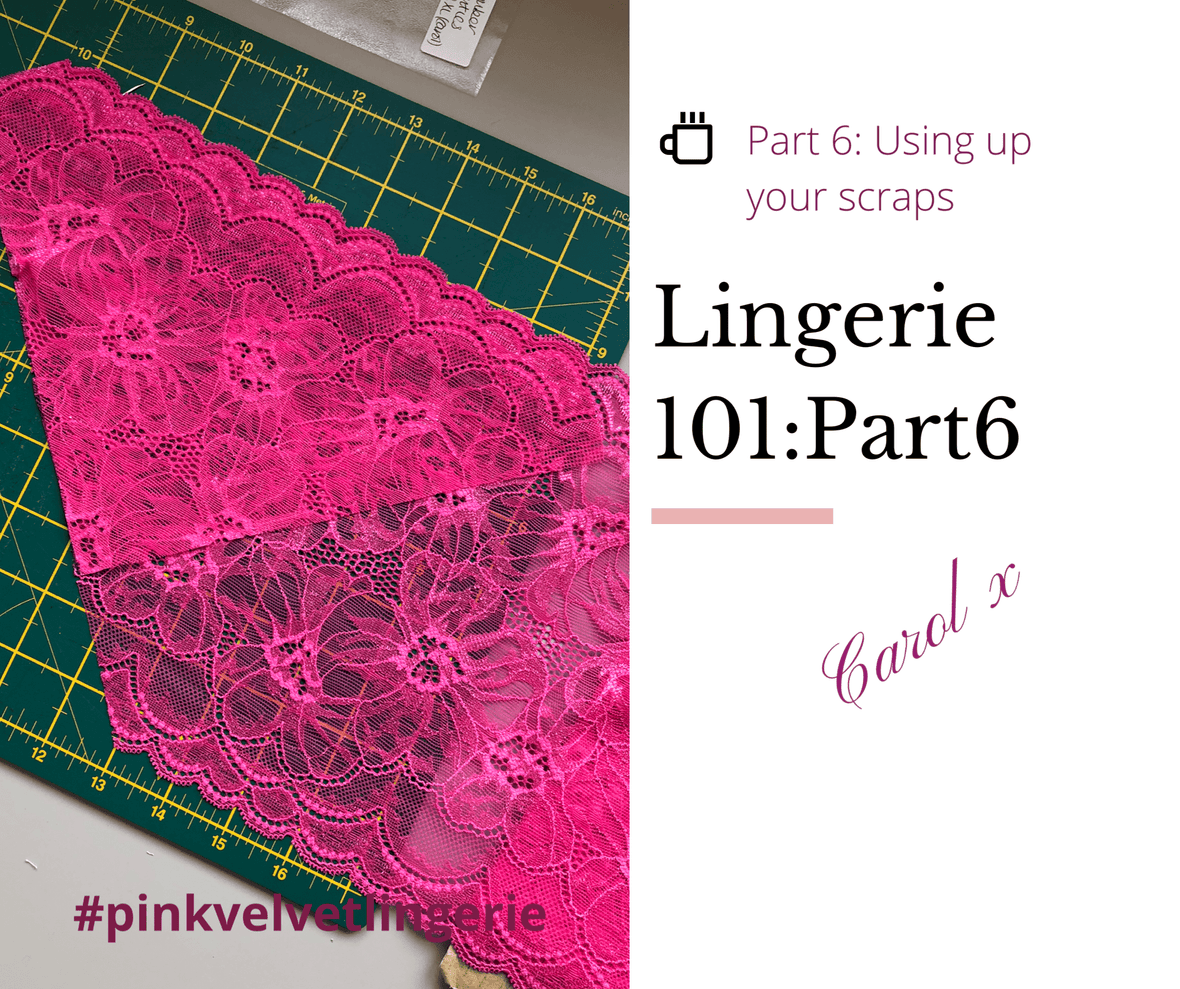
Lingerie 101 - Part 6: Using up your scraps
Carol Walker

So after a totally crazy few weeks, this is the last of the current series about my passion and mild obsession, of Lingerie Making.
The last collection of patterns I have in my stash are the underwired bras- and I now have versions which are best for lace, ones which work well for bra tulle and glamorous ones including the Black Beauty Bra from Emerald Erin. But for me at least, the best pattern for using up your scraps of stretch lace is the Devonshire Bra from Orange Lingerie.
Ok, so by now you have all the skills and techniques under your belt to tackle something a little more fiddly. I love making underwired bras - and I am constantly amazed at actually how little fabric you need in order to achieve a gorgeous effect. So gather up all your scraps and make a plan. This part is literally up to you. Plan where you want which type of fabric and what you are going to embellish it all with.
You are only constrained by what you can imagine, and if you let your heart and sole filter into what you make everything will be a success.
Sure, not all my makes work, or not all of them I like in the end, what do I do? Simply cut off the bits I can reuse, shrug your shoulders and put it down to a learning experience.

Get hold of your pattern and print out again as you would normally do. This is another American company and so the pattern sizing is a little different. It uses the plus 4 sizings. All this literally means is that if you are measuring 31.5 inches around your rib cage, you need to round up to the nearest even inch and add four. So the Devonshire pattern size I actually cut out is the 36C.
There are a few things to remember: to only have your printer print off on side of the page and to only print the pages from the PDF you need.
Once you have all the pattern printed and cut out you are ready to cut into that fabric - is always my favourite part! It is kind of like that fresh notebook and pencil case you had for school every September. (I am sure I sound completely barking right about now....)
Cutting out the Lace

So once you have planned where you are going to put everything, cut out your pattern. Cut out each of the lace and back strap parts and don't forget to mirror the lace properly. You have so many new skills by now, but it always pays to be careful with this bit.
Think about how much flesh you want to see? If you want to add padding for extra shape and support and if not you will also need some stable bra tulle for the inside of the cup to provide you with some support. (or basically anything with a very little stretch.
As part of the next series, I am planning to talk more about the theory behind the materials and how to adapt them to get better shape or to use other approaches. Maybe be we will explore my many bra patterns and what works for me with the different materials - anyway, that discussion is for later.
____________________________
Anyway back to bra making.......
Once you have the pieces cut out you need to sew up the inner and outer cups. I have decided to stabilise the cups with bra stabiliser, it nude coloured nylon with no stretch. I have had three children, and it helps to keep the girls in place! - if you catch the meaning!!)
Stupidly here I forgot to take a picture of the separate cups, which I completely understand isn’t much help to you all.
Also just so you can all see a slightly different technique I have adapted the pattern so you can see the gorgeous scalloped edge on the lace. You will need to make up the bridge, cradle and back band as the pattern tells you - but the reality to that is that it is very similar to Darcey Bralette pattern.
This is where the next few weeks took over and my progress stopped.
My work is crazy and I am just not getting the spare time at the moment. I have most of the pieces put together and now just need to sew them all up and finish off.
Here is where I have managed to get too...

....this is Amelia, a gift from some very special friends! She is a little flatter in the chest than me, but here is the gorgeous Devonshire. Still not finished as the post has ruined the completion - but I am just grateful for any fabric getting through at all currently!
It’s the same accent lace as in all the components listed below.
Incase the Devonshire Bra doesn’t get finished I will show you how amazing everything looks when you see the collection altogether.

And so here end the first series.
come and join me in a few weeks to get Lingerie 101 Season 2 started. I am exploring the vast array of patterns and their uses, some come along and follow the blog.
Whilst you are waiting for some inspiration come on over to my Instagram page for some inspiration.

Keep your eyes open for the next series, stay safe and enjoy your sewing x x x 


